For anyone who has been around the English Paper Piecing block a time or two, what I am about to explain will be No Big News. But I know that I have learned a ton about sewing and quilting from bloggers' posts on basic techniques, so I thought I would do a little tutorial -- with the hope that it might prove helpful to someone out there! Please do let me know if this is useful or if there's anything I could clarify. This is my first attempt at a stitchy tutorial of any kind, so I would love to hear from you.
This week I have been having fun churning out some large hexagons for the Hexalong (hexagon quilt-along) being hosted by Lynne of
Lily's Quilts and
Gayle Brindley. As I described in
an earlier post, I decided to make my hexagons quite large -- 4" along each side. I ordered some supplies at the beginning of the week, including a variety of precut hexies and 4" 60 degree diamonds from
Paper Pieces and also some plastic "Quilt Patis" from
Sew Sisters -- which is a great little quilt shop in North Toronto. Sew Sisters is having a Free Shipping sale this week -- yay! -- and my Quilt Patis arrived within a couple of days. Hip hip hooray!
Quilt Patis are plastic templates used for EPP (English Paper Piecing). In the past two days I have come to love them because they allow for very crisp shapes and points and they're endlessly reusable.
They also allow for piecing
without sewing any basting stitches.
If you're completely new to paper piecing it might be worth clarifying: when you work with large shapes cut from paper, you generally wrap your seam allowances around the paper shape, and baste (temporarily stitch) your fabric right through the paper.
ETA: Precut shapes like those from Paper Pieces are reusable, even after you remove your basting stitches! Homemade paper shapes seem to show their wear much more...or at least mine do :(
Here's an example: my first of the large hexies, stitched to a homemade printer-paper template.
As you can see, the basting stitches are large and need to be highly visible (they're taupe; squint and you'll see them!) -- because they will need to be removed later, when the quilt top is assembled and they're no longer needed.
Lynne posted an excellent tutorial on EPP
here, and I know there must be many more available.
While this traditional method works well, I have to say that all that cutting of paper pieces and stitching things that later need to be removed can test my patience. So for many of my hexies I am going to be doing what I did
intuitively when I first played with EPP: sewing shapes without basting.
The no-basting approach won't be reliable for larger sizes of paper pieces, but it certainly worked very well for me when making smaller ones, like the 1" hexagons I was playing with last spring
and it is the method you use with plastic Quilt Patis too.
DISCLAIMER: These steps are super-quick and easy, and when I first started making hexagons I had no idea that I was leaving out a step. When I discovered that other people
basted their hexagons, I worried that there might be some terrible unforeseen consequence to my improvised method. But there isn't...and I recently discovered that I'm
not the only one doing things this way.
Phew.
Anyway, you might find that you like making no-baste hexagons so much that you'll need to buy yourself a jumbo bag of precut paper pieces, like I did!
Here's what I do: I either pin the hexie to my fabric, or just hold it firmly if no pin is at hand.
Then I cut around the paper piece, leaving at least 1/4" all around. I don't generally work with white fabrics, so I don't have to stress about the neatness or precision of my cutting: it won't be seen.
Now you just fold and wrap...kind of like wrapping a present.
With needle and thread (of any colour -- it won't be seen), catch the fabric to the left and right of the fold, but don't penetrate the paper piece inside.
I don't bother to knot the thread -- it will never need to be removed, but it also isn't essential to the stability of a finished quilt top. It's only purpose is to give the hexie shape during piecing. I have found that three nice tight stitches hold firmly, without a knot. I hope that works for you too!
Continue to fold and stitch about three times in every corner, just carrying the thread as you move around the perimeter of the shape.
Voila!
Go on and make hundreds of these little cuties...you know you want to!
****
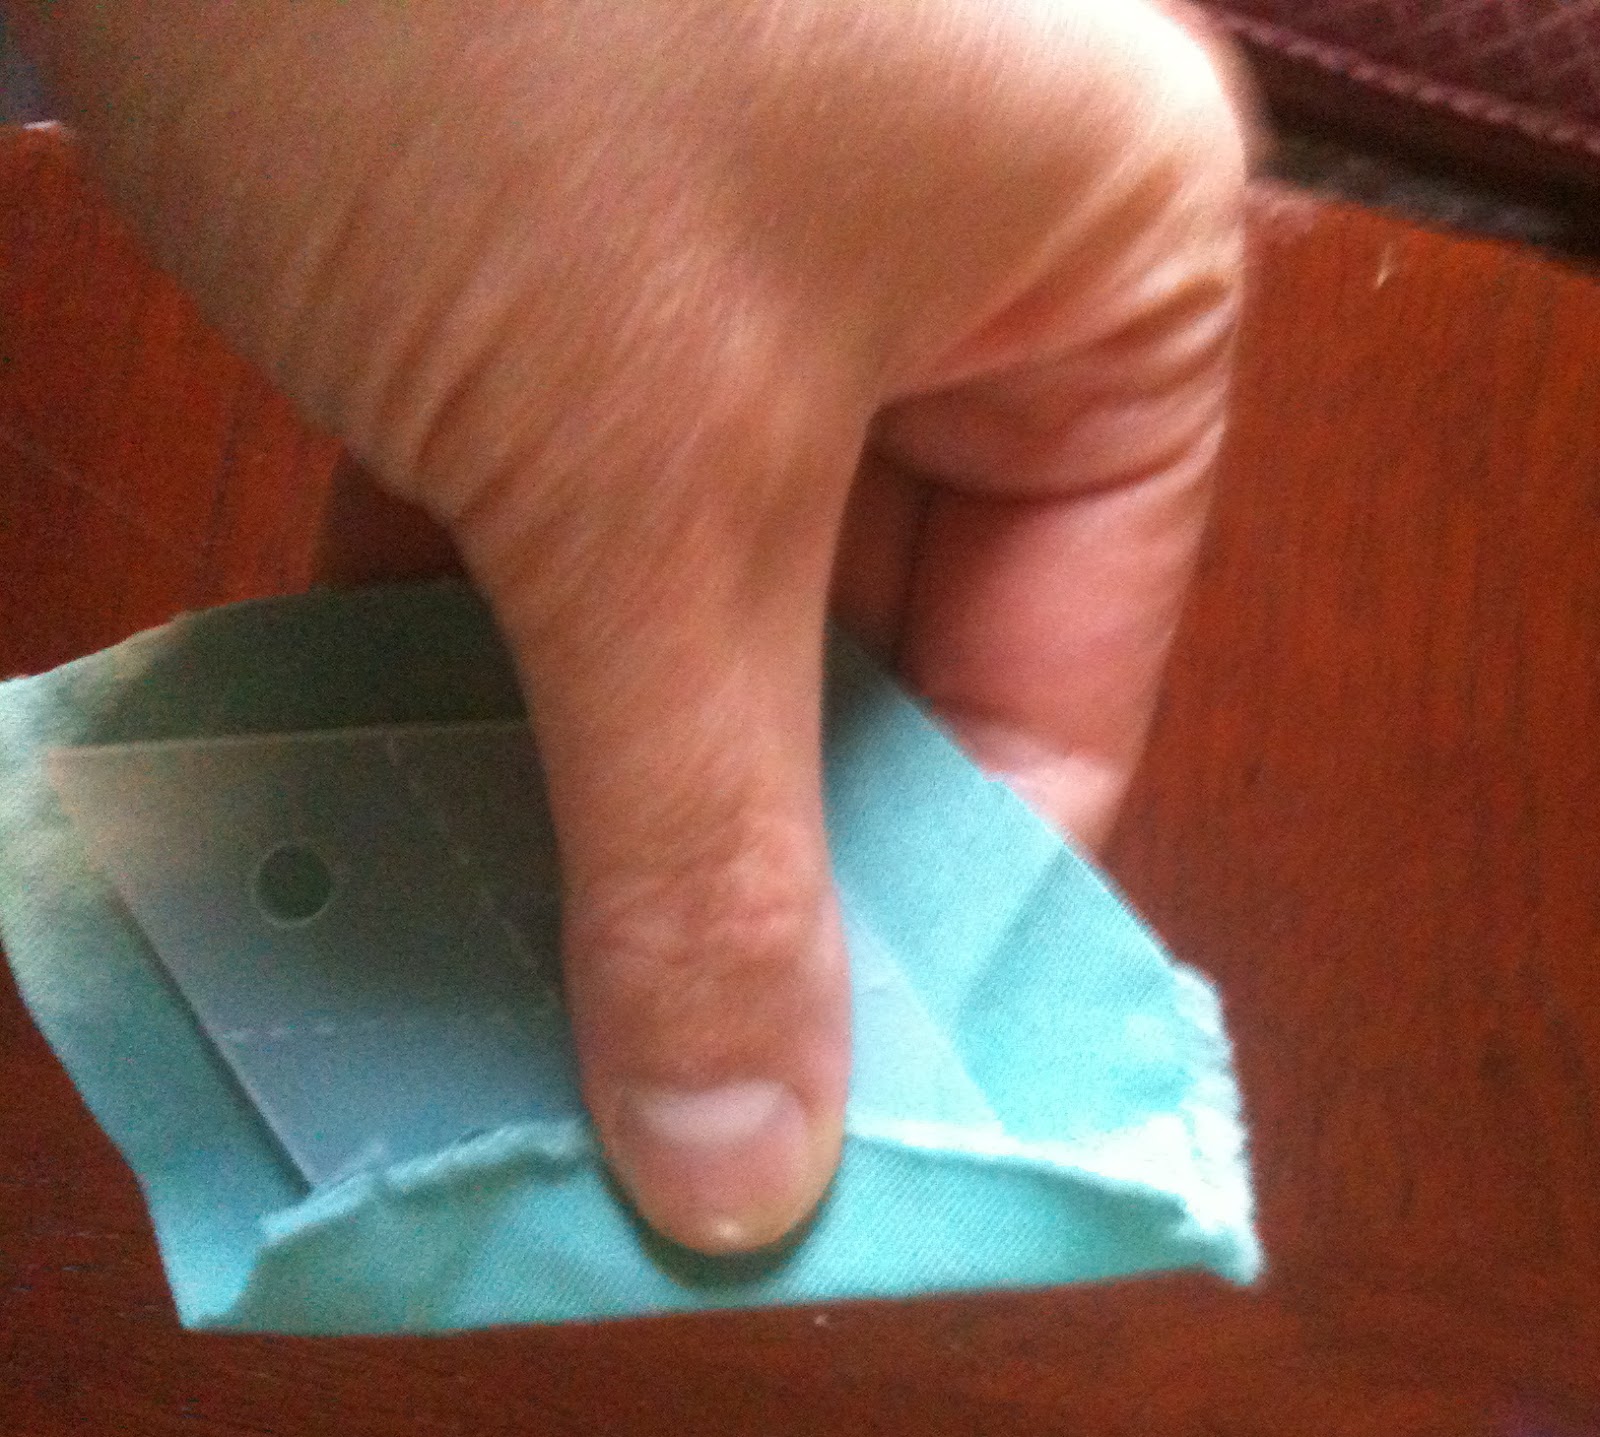
It was very easy for me to get started using Quilt Patis, because they are actually designed to be used the same way I was using my paper pieces: without basting stitches.
Here's how I used 2" diamonds to make these 4" star hexies:
Once again, I cut around the shape, leaving a reasonable seam allowance but not worrying much about accuracy.
Fold and pinch firmly
and then fold a corner at one of the points of the diamond. Here accuracy
does matter, and these corners are much sharper than those of a hexagon: take care to fold a nice crisp point. You will have a little flap of extra fabric folded over to one side.
Insert the needle, catching the fabric on either side, a comfortable distance from the point.
I make three nice, tight, secure stitches.
I move around the perimeter, aiming to make crisp corners as I go, taking a few firm stitches at each point.
When all four corners are done, I can stop and admire my work. The points of the diamond look crisp, and the folded bits of corner fabric are visible, even from the front - but that's fine.
It takes six of these diamonds to make a star. The plastic Patis help to keep the shapes very well-defined, so you can match up sides perfectly and whipstitch them together.
Take a look at Lynne's excellent
whipstitch video -- this stitch is easy and also essential to assembling your EPP shapes -- whether you're connecting little hexies or triangles-within-a-hexagon. Here's some stitching where you
do most definitely want to knot your thread! This is sewing-for-construction: these are stitches that need to hold for a good long time, so make them as secure as possible -- without pulling too tightly.
Matching the beginnings and endings of the diamonds' sides is key here. I hold quite firmly as I whipstitch. It's fun to see the star shape emerge as you add diamonds.
I haven't found any problem working around the little flappy bits that result from each folded corner. I just nudge the flaps aside so I can keep working the whipstitch neatly through the inside edges of each diamond side. I try to pay special attention to lining up the inside corners, where all six diamond points are going to meet.
Patterned fabric really helps to hide any imperfections, but I think the centre points look pretty good, even in this solid.
And now it's time to work the second set of six diamonds in a contrasting fabric. When whipstitching these to the star, you have to deal with some "Y" seams, and because the Patis are firm plastic, they can't be bent and manipulated like paper can. But I am finding that if I just take a little care at the "V" the seams come out really well.
Penelope is a great help.
Not.
Keep making and then attaching those contrast diamonds...
and soon you have a finished hexie star! And no basting stitches to remove...ever!
I make no claim at originality here, but I really hope that this little tutorial is helpful to you. Sorry to ramble on...I'll leave you to your sewing!


